Spray paint is one of the fastest ways to give any project a professional finish. From metal furniture and wood cabinets to plastics and decor, it offers speed, convenience, and flexibility. But when the surface doesn’t turn out smooth and instead shows cracks, it’s more than disappointing, it’s a clear sign that something went wrong.
If you’ve ever looked at your project and asked, why is my spray paint cracking?, you’re asking the right question. Cracking isn’t random. It happens because of preventable mistakes in preparation, technique, or environment. The good news: once you understand the causes, you can take full control of your projects and eliminate cracking for good.
This blog will break down the main causes of spray paint cracking, how to fix it, and, most importantly, how to prevent it from happening again.
The Real Causes Behind Spray Paint Cracking
Every paint failure has a root cause. Cracking is no different. Think of spray painting like a deal: if you don’t set up the conditions right, it will fall apart.
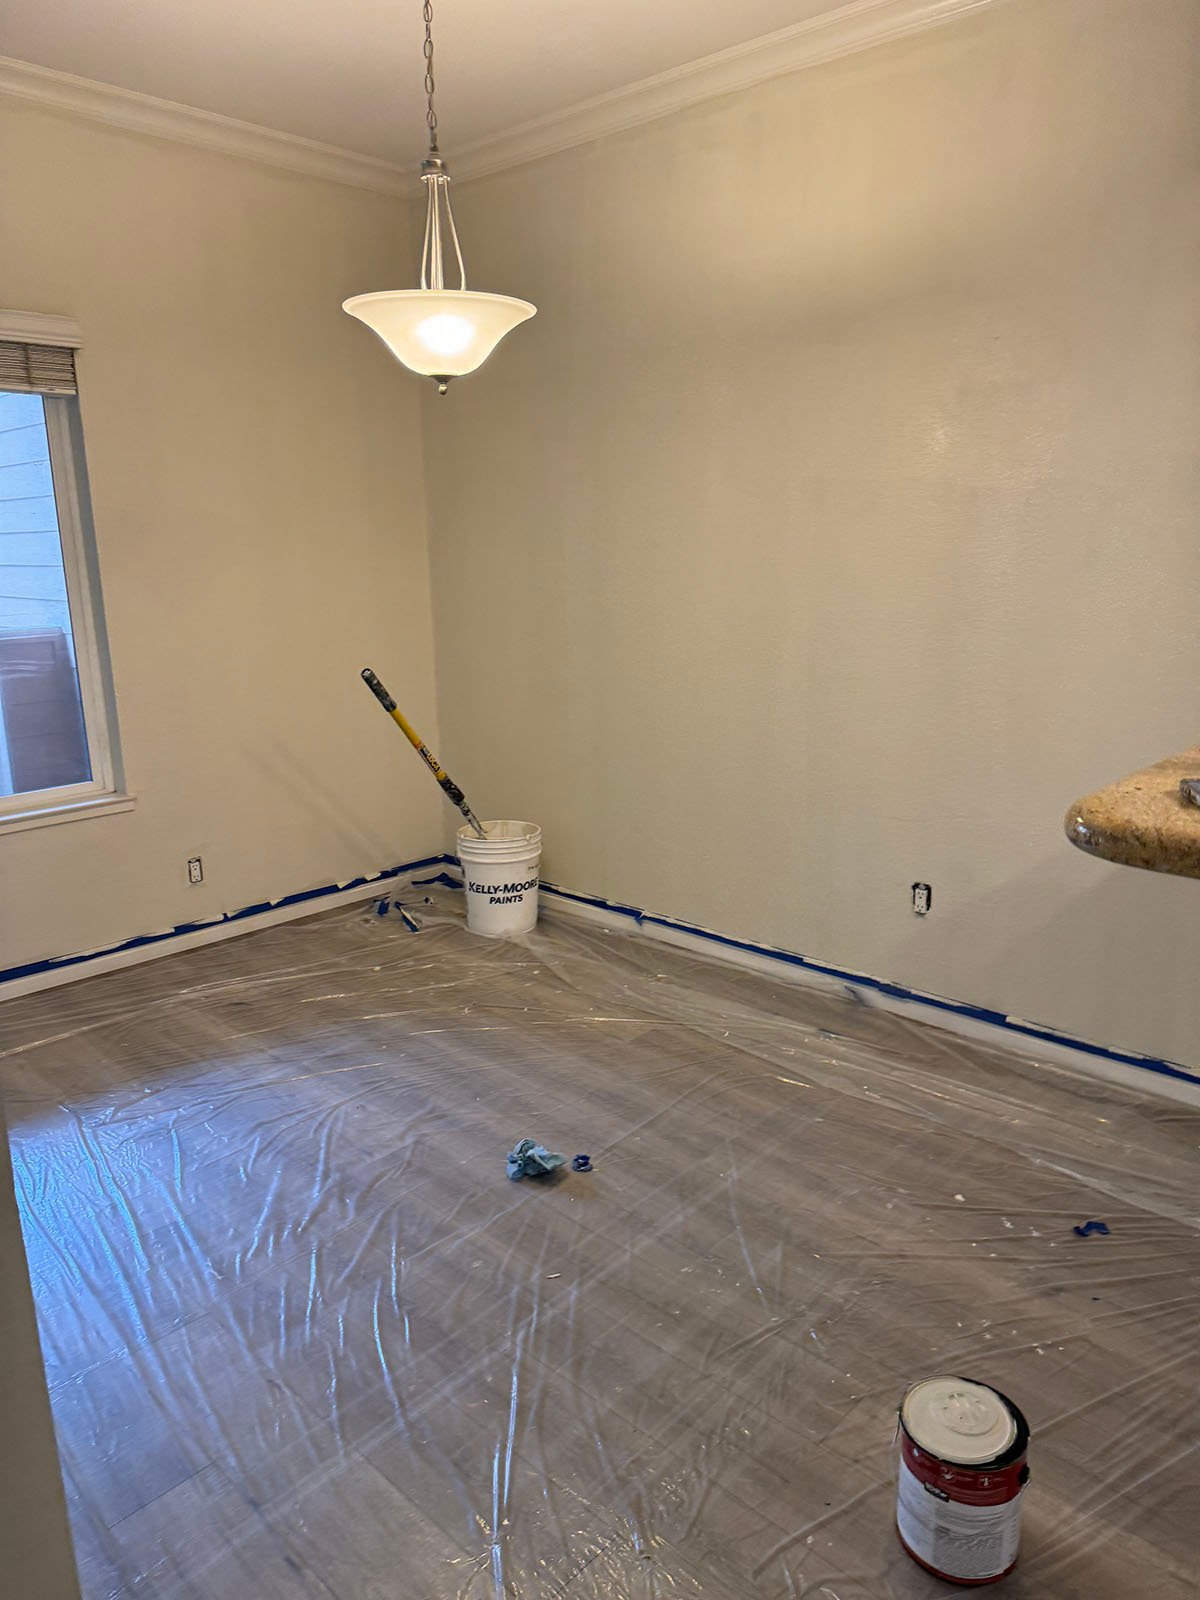
Poor Surface Preparation
Paint bonds to what’s underneath. If the surface is dirty, greasy, glossy, or rough, the paint has nothing solid to grip. That’s when you see cracks forming during or after drying.
Common prep mistakes include:
- Spraying over dirt, oil, or dust.
- Ignoring sanding on smooth materials.
- Skipping primer on bare wood, metal, or plastic.
- Painting surfaces that still have old, unstable finishes.
Skipping preparation is like building on a weak foundation. The paint film shrinks as it cures, and without a strong bond, it cracks.
Application Mistakes That Lead to Cracking
Even if you prep like a pro, your technique matters just as much. When homeowners ask, why is my spray paint cracking?, it often comes down to the way the paint was applied.
Applying Heavy or Uneven Coats
Spray paint is designed for thin, controlled layers. When you spray too close or overload the surface, the top layer dries faster than the bottom. That trapped solvent creates tension, which leads to cracking.
Signs you sprayed too heavy:
- Runs and drips forming quickly.
- Shiny patches that never even out.
- Cracks appearing within hours.
Best practice: Spray from 8–12 inches away and keep the can moving. Apply multiple light passes instead of trying to cover everything in one coat.
Ignoring Drying Time Between Coats
Spray paint isn’t about speed; it’s about precision. When you don’t allow proper drying time, you’re stacking wet layers on top of each other. The bottom coat struggles to cure, and the result is cracking or wrinkling.
Drying time rules to follow:
- Always check the instructions on the can.
- Light coats: wait 15–30 minutes before recoating.
- Heavy finishes: allow 24 hours before sealing or top-coating.
Cut corners here, and the paint will let you know by cracking.
Environmental Conditions That Cause Spray Paint to Crack
Sometimes the problem isn’t prep or application, it’s the environment. Spray paint reacts to temperature, humidity, and airflow.
Temperature Problems
Cold weather slows curing, leaving the paint soft and weak. Hot weather speeds drying too much, causing the top layer to harden before the base does. Both extremes create tension that results in cracks.
Ideal temperature range: 65–85°F
If you’re outside this range, wait for better conditions or move indoors.
Humidity and Moisture
Moisture is the enemy of adhesion. High humidity makes the paint cure unevenly, often leading to bubbling and cracking. Even surfaces that look dry may hold moisture that disrupts bonding.
Ideal humidity: Below 60%
Always check conditions before spraying, especially outdoors.
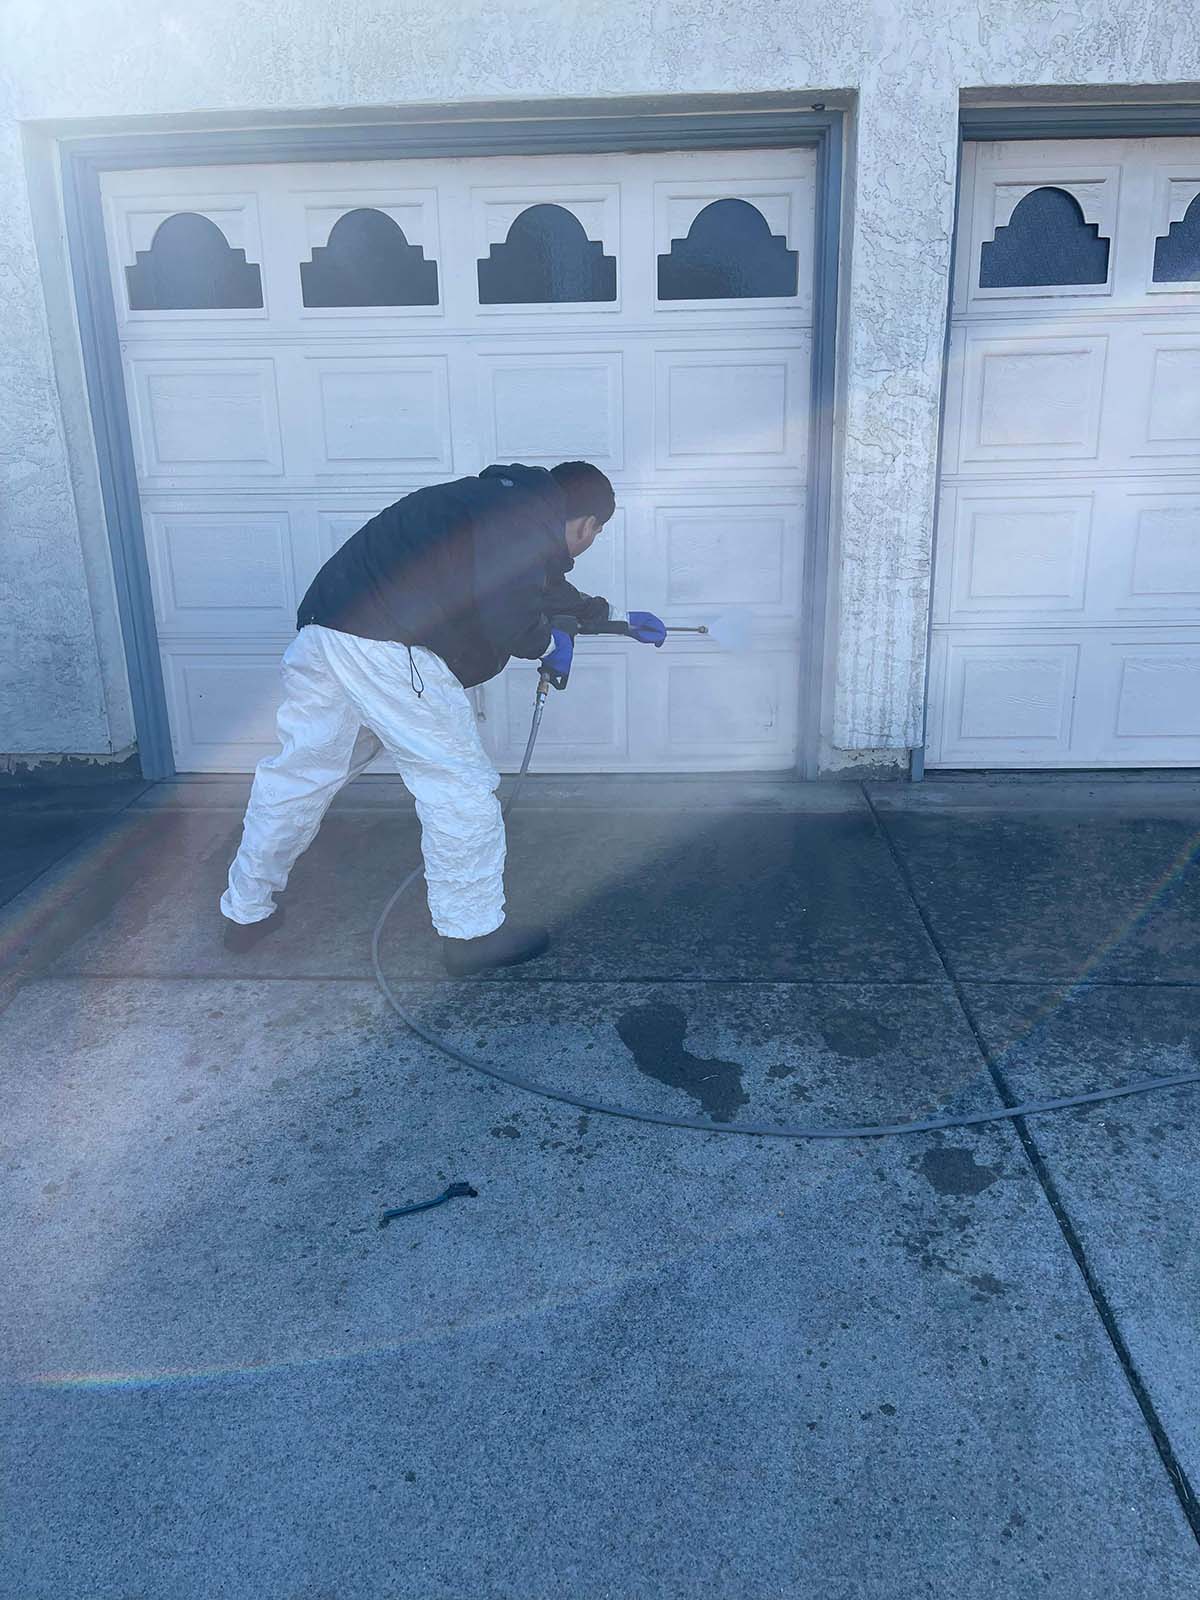
Spraying in Direct Sunlight or Wind
Direct sunlight overheats the surface, while wind can cause uneven drying. Both factors put stress on the paint film. Spray in shade or indoors where you control the environment.
Material Specific Issues
Ready to Transform Your Space?
Don’t wait, your dream paint job is just a click away. Book your free estimate today!
Different surfaces behave differently under spray paint. The material you’re working with can answer the question: why is my spray paint cracking?
Using the Wrong Spray Paint
Not every can works on every surface. Some spray paints are formulated only for metal, others for wood or plastic. If you use the wrong type, adhesion suffers and cracking follows.
Avoid mistakes by:
- Reading the label for surface compatibility.
- Choosing primers for tricky materials like plastic or glass.
- Using outdoor-rated paint for exterior projects.
Old or Expired Spray Paint
Spray paint doesn’t last forever. An old can may spray inconsistently, leaving a weak, uneven coat. That unstable layer is prone to cracking.
How to spot bad spray paint:
- Clogged or inconsistent spray pattern.
- Paint that separates even after shaking.
- Shelf life beyond a few years.
When in doubt, replace the can.
How to Fix Cracked Spray Paint
Cracking isn’t permanent. You can repair it, but it requires the right process. Simply spraying more paint on top will not solve the problem.
Sanding and Recoating
For small cracks, sanding is the fastest fix. The goal is to create a smooth surface and rebuild with thin, even layers.
Steps:
- Sand the cracked area with fine grit sandpaper.
- Clean the dust with a tack cloth.
- Apply primer if needed.
- Spray light coats with proper drying time.
Stripping and Starting Over
If the cracks cover a large area, it’s better to strip everything and start fresh. Use a chemical stripper or sanding tool to remove the failed paint completely. Once bare, clean, prime, and repaint.
This might sound like extra work, but it saves you from layering new paint over a failed base.
Preventing Spray Paint Cracking in the Future
The real win is prevention. If you follow a disciplined process every time, you’ll never have to ask why is my spray paint cracking? again.
Golden Rules for Spray Painting Success
- Clean, sand, and prime before painting.
- Shake the can thoroughly for even pigment distribution.
- Spray light, even coats instead of heavy ones.
- Follow drying times strictly.
- Control your environment (temperature, humidity, airflow).
- Use paint designed for your material and conditions.
Spray painting is about discipline. When you follow the rules, the results speak for themselves.
Advanced Tips for Professional Results
If you want results that look professional, a few extra steps can take your finish to the next level.
Use a Quality Primer
Primer creates a consistent base that bonds with both the surface and the paint. On challenging surfaces like metal or plastic, it’s not optional, it’s essential.
Lightly Sand Between Coats
For a mirror smooth finish, lightly sand between coats once they’ve dried. This levels out imperfections and ensures each new layer bonds stronger.
Seal with a Clear Coat
A clear coat adds protection against scratches, UV rays, and moisture. It also reduces the chance of future cracking by locking in the paint film.
Conclusion
Spray paint cracking is frustrating, but it’s never random. It happens because of poor prep, bad technique, wrong conditions, or incompatible materials. Once you know that, you can take control of your projects.
So the next time you pick up a can, think about the process. Prepare the surface, spray light coats, respect drying times, and work in the right conditions. Do that consistently, and you won’t just stop asking, why is my spray paint cracking? You’ll start asking a better question: how can I make this finish look like it came straight from the factory?